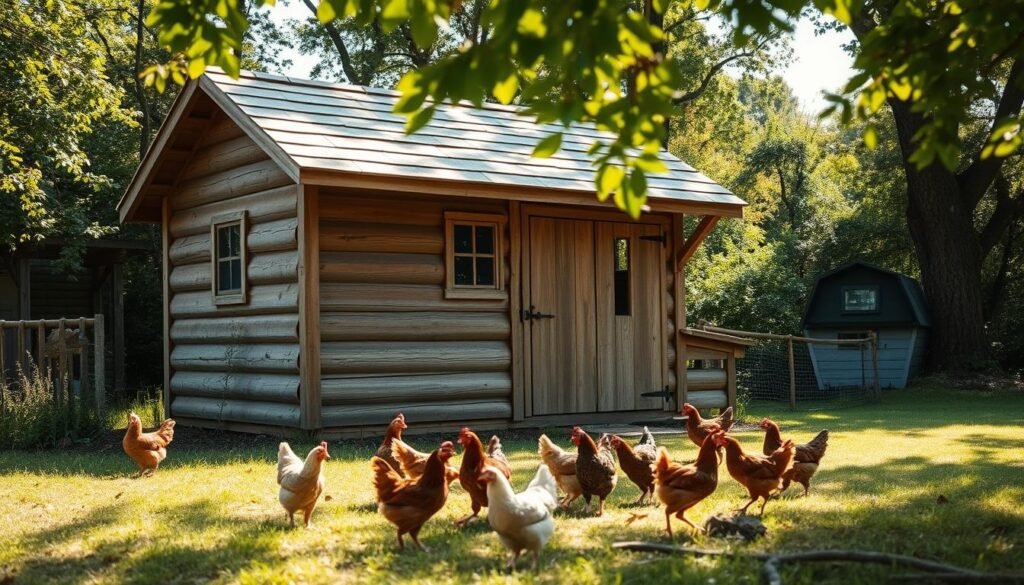
Imagine stepping into your backyard, surrounded by nature’s sounds. You’re greeted by the gentle clucking of your backyard flock! We’re excited to help you create a charming backyard haven for your feathered friends.
Building a functional and beautiful coop shed is a rewarding project. It provides a safe home for your chickens and adds rustic charm to your outdoor space. As we guide you, you’ll learn the joys of raising backyard chickens and how to design a coop that suits your needs.
👉👉 Start your woodworking journey with Ted’s 16,000 plans »
🌿 👉 Browse top-rated Chicken coop shed and get inspired on Amazon »
Key Takeaways
- Learn how to plan and design a functional and beautiful coop shed combination.
- Discover the benefits of raising backyard chickens and how to get started.
- Understand the essential design considerations for a safe and healthy coop.
- Get tips on building a coop shed that adds charm to your outdoor space.
- Find out how to create a backyard haven for your feathered friends.
Why Build a Chicken Coop Shed Combination
A chicken coop shed combo is great for backyard chicken keepers. It combines two structures into one. This makes a space that’s both functional and efficient for your chickens.
Benefits of Raising Backyard Chickens
Raising backyard chickens is a rewarding experience. You get fresh eggs and a closer connection to your food. Some benefits include:
- Fresh eggs right in your backyard
- Reduced carbon footprint from transportation
- Educational opportunities for children
- Pest control and fertilizer for your garden
By raising chickens, you’re not only getting eggs. You’re also living more sustainably.
Advantages of a Combined Coop and Shed Structure
A combined coop and shed has many advantages. These include:
- Convenience: Store feed and supplies in the shed section
- Space-saving: Combine two structures into one footprint
- Protection: Safeguard your chickens from predators with a secure coop
By merging your coop and shed, you’ll have a practical and efficient space. It makes caring for your backyard flock easier.
Planning Your DIY Chicken Coop Shed Project
Before starting your DIY chicken coop shed, planning is key. You need to think about several important factors. These will affect how well your coop works and keeps your chickens safe.
Determining the Right Size for Your Flock
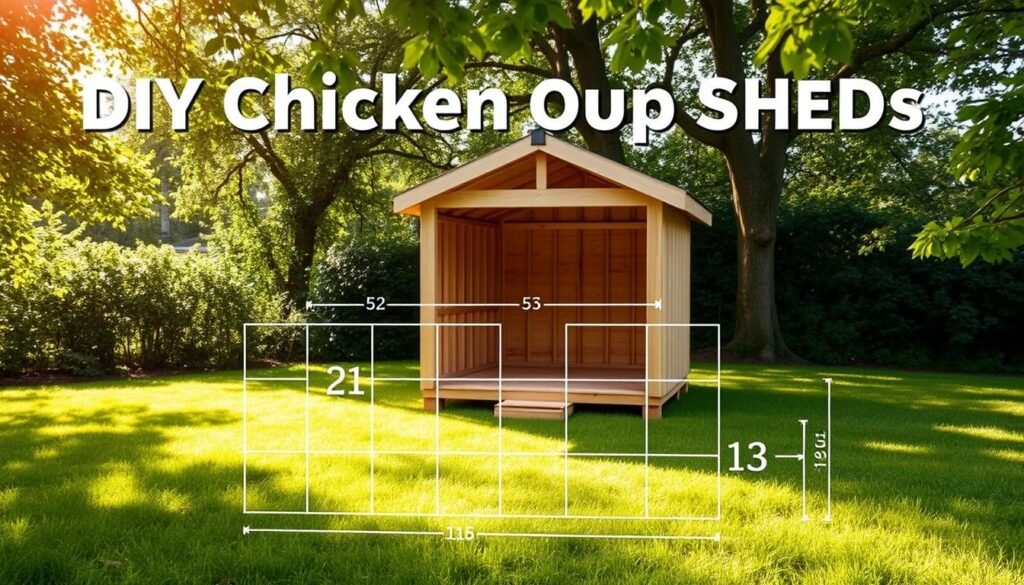
The size of your coop depends on how many chickens you have. A good rule is to give each chicken 3-4 square feet inside. Think about your chickens’ needs and if you might get more in the future.
👉👉 Start your woodworking journey with Ted’s 16,000 plans »
🌿 👉 Browse top-rated Chicken coop shed and get inspired on Amazon »
Choosing the Ideal Location in Your Yard
Choosing the right spot for your coop is very important. Look for a place that’s dry, well-drained, and safe from strong winds. It should also be near water and get enough sunlight.
Understanding Local Regulations and Permits
Before you start building, check local laws about backyard chickens and coop sheds. You might need permits or licenses. There could be rules about the size, location, and design of your coop.
| Regulation | Description | Importance |
|---|---|---|
| Permit Requirements | Check if you need a permit to build a coop shed | High |
| Coop Size Restrictions | Understand any size limitations for your coop | Medium |
| Location Guidelines | Know the rules about where you can place your coop | High |
With careful planning, your DIY chicken coop shed project will be a success. You’ll create a safe, useful, and happy space for your chickens.
Essential Design Considerations for a Functional Coop
A well-designed coop is key to a happy and healthy backyard flock. We’re here to guide you through the essential considerations. When building a DIY chicken coop shed, make sure your chickens have a safe and comfy home.
Ventilation Requirements for Chicken Health
Proper ventilation is vital for a healthy coop environment. This means:
- Installing windows that can be opened for airflow
- Ensuring there’s enough ventilation without drafts
Window Placement for Airflow
Place windows on opposite coop sides for a cross breeze. Think about the winds in your area when choosing window spots.
Ventilation Without Drafts
To prevent drafts, add vents near the roof or mesh windows. These let air in while keeping chickens safe from strong winds.
Predator Protection Features
Keeping your flock safe from predators is essential. Use strong materials for the coop and add hardware cloth around the run. Make sure all openings are secure to keep predators out.
Nesting Box and Roost Specifications
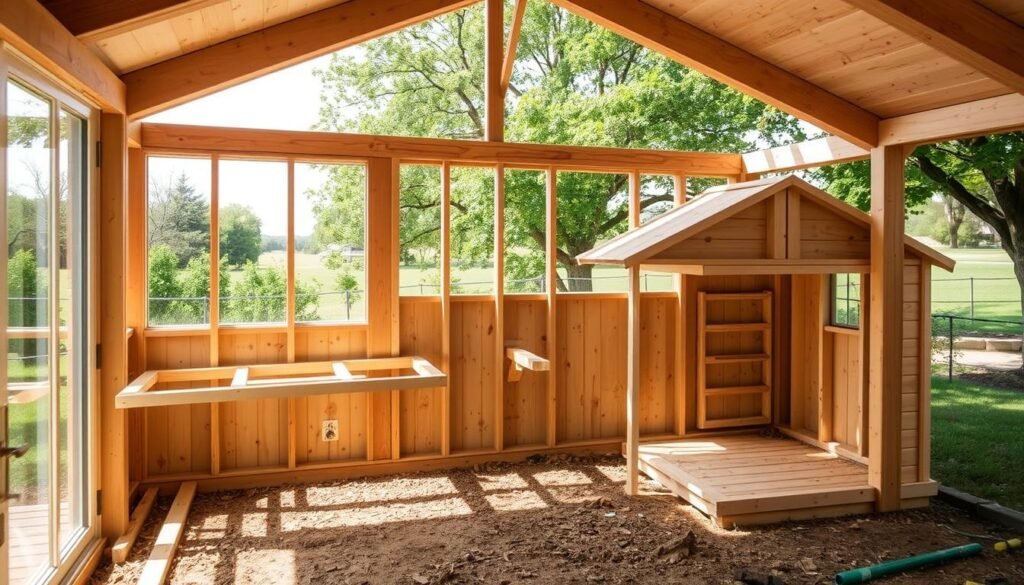
Nesting boxes should be cozy and private, with one per 3-4 hens. Roosts must be sturdy and higher than nesting boxes. This encourages chickens to roost at night.
👉👉 Start your woodworking journey with Ted’s 16,000 plans »
🌿 👉 Browse top-rated Chicken coop shed and get inspired on Amazon »
By focusing on these design considerations, you’ll build a safe and functional DIY chicken coop shed. It will meet your flock’s needs.
Materials and Tools Needed for Your DIY Chicken Coop Shed
Before starting your DIY chicken coop shed, gather the right materials and tools. Having everything ready will make building easier and faster.
Lumber and Building Materials Checklist
For a strong chicken coop shed, you’ll need different lumber and materials. Here’s a list to help you:
- 2x4s for framing
- Plywood or OSB for walls and floor
- Exterior-grade pine or cedar for siding
- Roofing materials (shingles or corrugated metal)
- Nails, screws, and hinges
Make sure you have enough materials for your design and size.
Essential Tools for Construction
To build your chicken coop shed, you’ll need various tools. Some must-haves are:
- Circular saw
- Drill
- Hammer
- Tape measure
- Level
The right tools will make building easier and help you get great results.
Optional Materials for Enhanced Features
For extra features, consider these materials:
- Windows for natural light
- Ventilation systems for better airflow
- Nesting box dividers for organization
- Predator-proof hardware cloth for security
These materials can make your chicken coop shed more functional and comfortable.

👉👉 Start your woodworking journey with Ted’s 16,000 plans »
🌿 👉 Browse top-rated Chicken coop shed and get inspired on Amazon »
Creating a Solid Foundation for Your Coop
A strong foundation is key for a good DIY chicken coop shed. You want your coop to last long and keep your chickens safe.
Foundation Options: Concrete vs. Skids vs. Pier Blocks
Choosing the right foundation is important. You can pick from concrete, skids, or pier blocks. Concrete is solid but costs more and takes a lot of work. Skids are wooden beams that are cheaper and easier to set up. Pier blocks are concrete blocks that support well without digging a lot.
| Foundation Type | Cost | Durability | Installation Ease |
|---|---|---|---|
| Concrete | High | High | Low |
| Skids | Low | Medium | High |
| Pier Blocks | Medium | High | Medium |
You may also like
Step-by-Step Foundation Installation
Leveling the Ground
First, make sure the ground is level. This is important to avoid your coop from tilting. Tilting can cause problems and stress the building.
Securing the Foundation
After setting your foundation, make sure it’s secure. For skids, use metal straps to anchor them. For concrete and pier blocks, check they are set and level.

👉👉 Start your woodworking journey with Ted’s 16,000 plans »
🌿 👉 Browse top-rated Chicken coop shed and get inspired on Amazon »
Building Your DIY Chicken Coop Shed: Step-by-Step Process
Building a DIY chicken coop shed is easy when you break it down. First, you lay the foundation. Then, you build the coop’s main structure. We’ll show you the key steps to make your coop shed a reality.
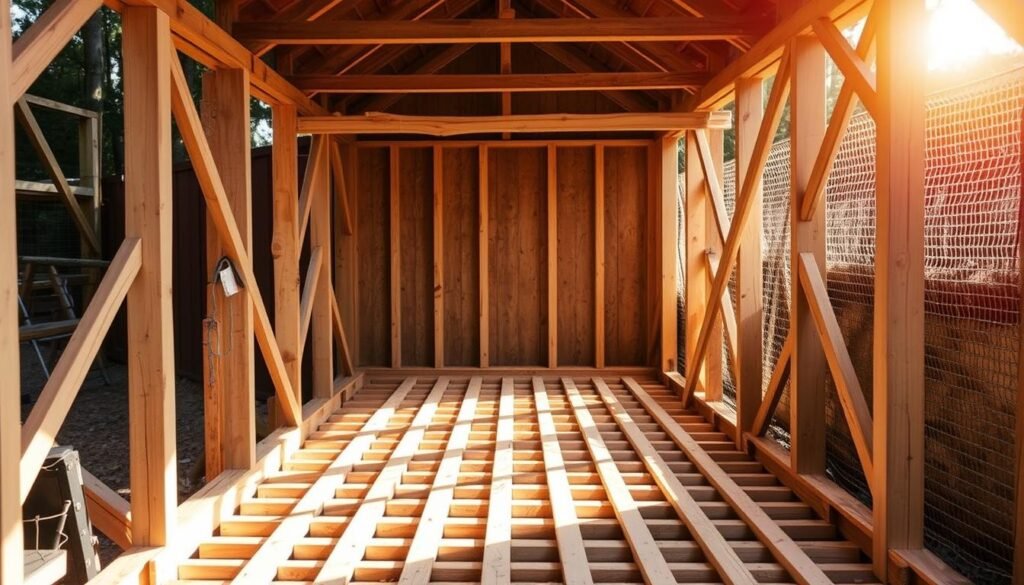
Constructing the Floor Frame
The first thing to do is build the floor frame. Use treated lumber for a strong base. Make sure the frame is square and level for stability. Use 2×6 or 2×8 lumber based on your coop’s size and material choice.
👉👉 Start your woodworking journey with Ted’s 16,000 plans »
🌿 👉 Browse top-rated Chicken coop shed and get inspired on Amazon »
Framing the Walls
After the floor frame is done, frame the walls. Cut lumber to the right height and use 2×4 framing for the walls. Assemble the walls on the floor, making sure they’re plumb and attached well. This step is key for a solid coop shed.
Assembling the Roof Structure
The last big step is building the roof. Cut and assemble the rafters on top of the walls for a strong roof. You can pick a simple gable roof or something more complex. Use proper roofing materials for durability and to keep out the weather.
Installing Siding, Roofing, and Exterior Finishes
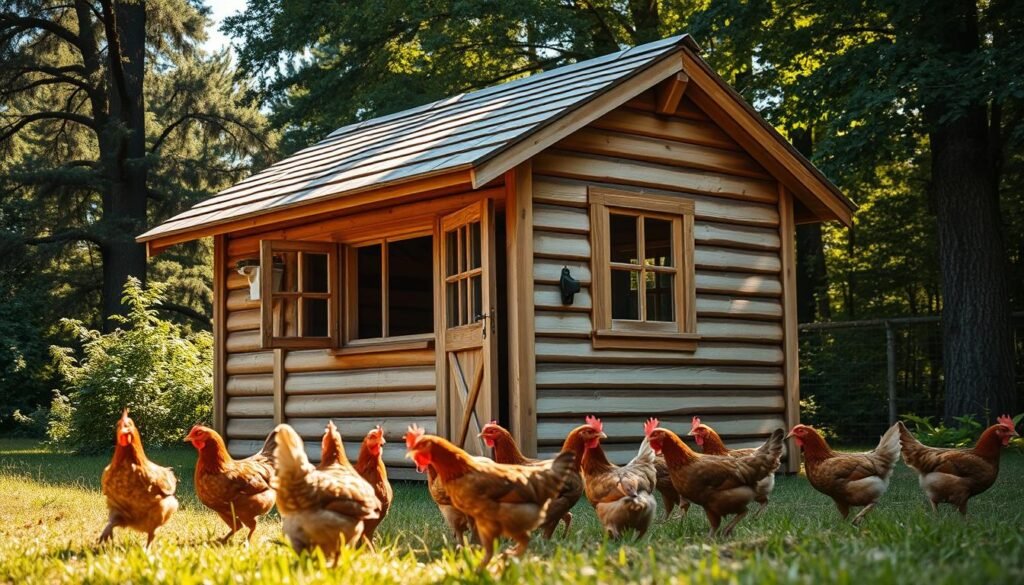
Now that your DIY chicken coop shed’s basic structure is up, it’s time for the exterior finishes. This step is key to protect your coop from the weather and keep it strong over time.
Weatherproofing Your Coop Shed
Weatherproofing stops water damage and keeps pests out. Use a waterproof membrane on walls and roof. Seal windows and doors well too.
👉👉 Start your woodworking journey with Ted’s 16,000 plans »
🌿 👉 Browse top-rated Chicken coop shed and get inspired on Amazon »
Roofing Material Options and Installation
Picking the right roofing material is important. You can choose from asphalt shingles, corrugated metal, or translucent panels for light. Make sure it’s strong and fits your area’s weather.
| Roofing Material | Durability | Cost |
|---|---|---|
| Asphalt Shingles | 20-30 years | Moderate |
| Corrugated Metal | 30-50 years | Higher |
| Translucent Panels | 10-20 years | Lower |
Adding Windows and Doors
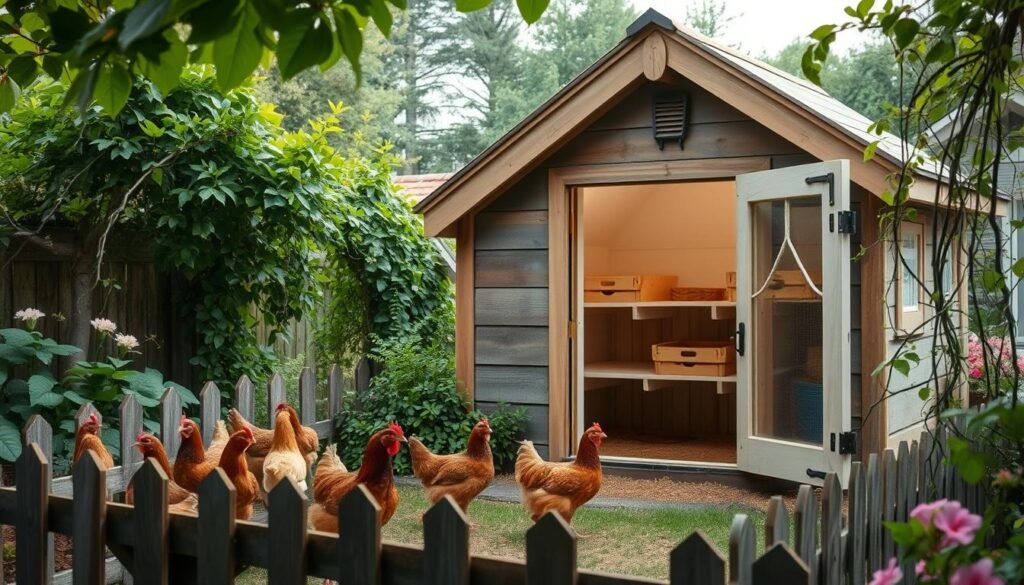
Windows and doors give access and air. Here’s how to install them right.
Creating a Chicken Door
A chicken door lets hens in and out safely. It must be strong and safe from predators. An automatic door opener is a nice touch.
Human Access Door Installation
The door for people should be solid and safe. Add a lock to keep chickens and tools safe.
By doing these steps, you’ll finish your homemade chicken coop design with a safe and useful exterior.
Interior Setup: Creating Comfortable Chicken Living Spaces
The inside of your chicken coop shed is as important as the outside. It keeps your chickens happy and healthy. A good design makes sure they have a cozy spot to rest, lay eggs, and store food and supplies.
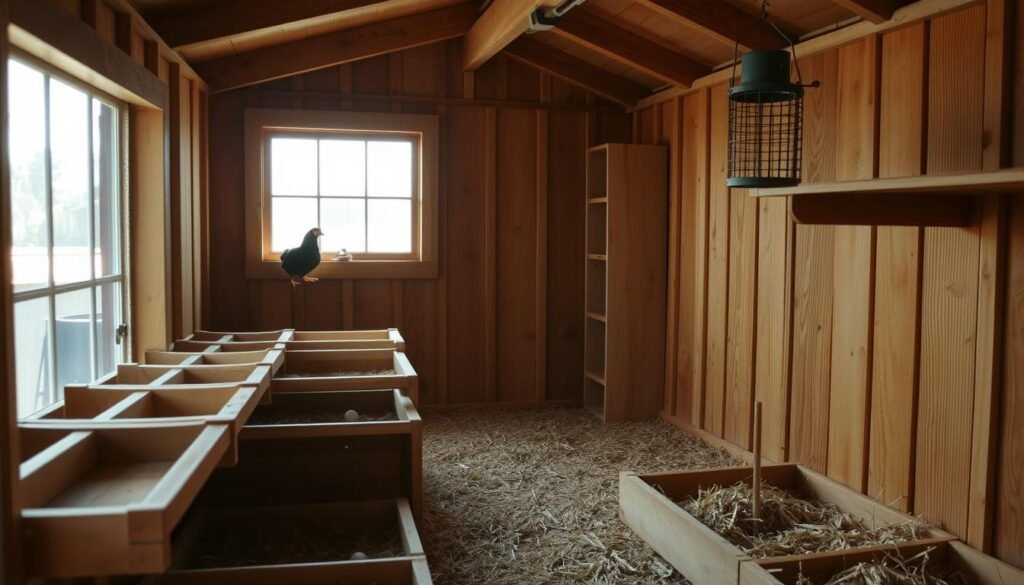
Building and Positioning Nesting Boxes
Nesting boxes are key in your chicken coop. They should be 12 inches wide, 12 inches deep, and 18 inches tall. Place them in a quiet, dark spot, about 2-3 feet up. This helps your hens lay eggs easily and keeps the boxes clean.
Installing Roosts and Perches
Roosts and perches are where your chickens sleep. Use 2-4 inch wide, 1-2 inch thick roosts at different heights. This fits all chicken sizes. Make sure they’re safe and won’t fall.
👉👉 Start your woodworking journey with Ted’s 16,000 plans »
🌿 👉 Browse top-rated Chicken coop shed and get inspired on Amazon »
Setting Up the Storage Area in the Shed Section
The shed part of your coop is perfect for storing chicken food, supplies, and tools. Add shelving or hooks for organization. Use bins or containers for feed to keep it fresh.
| Component | Dimensions | Purpose |
|---|---|---|
| Nesting Boxes | 12x12x18 inches | For hens to lay eggs |
| Roosts and Perches | 2-4 inches wide, 1-2 inches thick | For chickens to rest and sleep |
| Storage Shelves | Varies | For storing feed and supplies |
👉👉 Start your woodworking journey with Ted’s 16,000 plans »
🌿 👉 Browse top-rated Chicken coop shed and get inspired on Amazon »
Adding Essential Chicken Coop Features
Building a chicken coop is more than just a structure. It’s about adding the right features for your chickens’ happiness and health. You’ll need to focus on several key elements.
Feeding and Watering Systems
A clean feeding and watering system is key. Use feeders and waterers that are easy to clean and cut down on waste. For example, hanging feeders keep food clean and reduce waste.
Automated watering systems ensure your chickens always have fresh water.
Designing the Run Area
The run area is where your chickens spend most of their time. It must be safe and secure. Use hardware cloth instead of chicken wire to protect against predators.
Ensure the run is well-ventilated and spacious. Adding backyard chicken coop ideas like shaded areas or dust baths can improve their life quality.
👉👉 Start your woodworking journey with Ted’s 16,000 plans »
🌿 👉 Browse top-rated Chicken coop shed and get inspired on Amazon »
Installing Proper Lighting
Lighting is vital in your chicken coop. Chickens don’t need artificial light during the day. But, supplemental lighting is helpful in winter’s shorter days.
Install LED lights for their energy efficiency and consistent light. Proper lighting helps regulate laying cycles and improves health.
By adding these essential features, you’ll create a great easy chicken coop shed project. Remember, the details make a successful coop.
Maintenance and Seasonal Care for Your Chicken Coop Shed
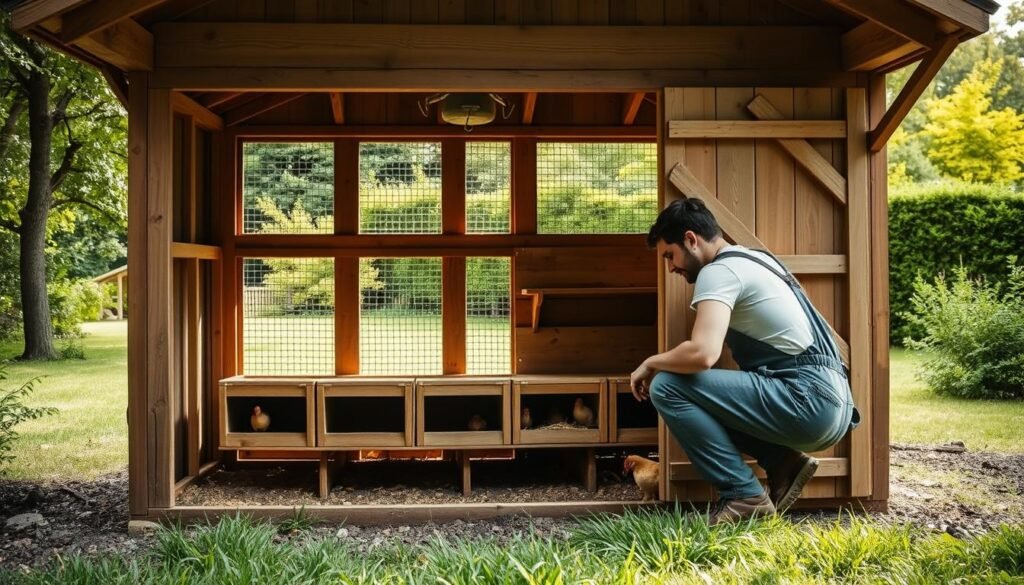
Keeping your DIY chicken coop shed clean is key for your chickens’ health and happiness. Regular care makes sure your chickens live in a clean, safe, and healthy place. This is vital for their well-being.
Regular Cleaning Routines
Cleaning regularly is essential to keep your chickens disease-free. Remove dirty bedding, clean feeders and waterers, and disinfect all surfaces often. This stops harmful pathogens from building up.
Seasonal Adjustments for Weather Changes
Seasons change, and so do your chicken coop shed’s needs. In winter, add insulation and ensure good ventilation to keep chickens warm and dry. In summer, provide shade and good air flow to keep them cool. Adjusting your coop shed for the seasons keeps your chickens comfortable.
Preventing and Addressing Common Issues
Regular checks can spot problems early. Look for predator signs, check the coop’s structure, and watch your chickens’ health. A well-kept coop is essential for a healthy and thriving flock.
| Season | Maintenance Task | Benefit |
|---|---|---|
| Spring | Clean out nesting boxes, inspect coop structure | Prepares coop for breeding season, ensures safety |
| Summer | Provide shade, ensure ventilation | Keeps chickens cool, reduces heat stress |
| Fall | Inspect for drafts, prepare for winter | Ensures coop remains warm and dry |
| Winter | Insulate coop, ensure adequate bedding | Keeps chickens warm, reduces risk of frostbite |
👉👉 Start your woodworking journey with Ted’s 16,000 plans »
🌿 👉 Browse top-rated Chicken coop shed and get inspired on Amazon »
Conclusion: Enjoying Your New Backyard Chicken Habitat
Now that your DIY chicken coop shed is done, you can start enjoying it. Your homemade coop lets you raise happy, healthy chickens. You’ll get fresh eggs and feel closer to your food.
By following our guide, you’ve made a safe, comfy home for your chickens. Your coop is now a place where you and your chickens can enjoy each other’s company.
As you get into the routine of chicken-keeping, keep your coop clean. This will help your chickens stay healthy and happy. With a bit of care, your chickens will keep giving you fresh eggs and joy for many years.
🛠️ Want the Look Without the Sawdust? Here’s Your Shortcut
There’s something rewarding about building a wooden piece with your own hands—but let’s face it, not everyone has the time, tools, or space for a full DIY project.
💡 That’s why I recommend Ted’s Woodworking Plans – a massive library of 16,000+ step-by-step plans for every kind of woodworking project you can imagine. From pet houses to holiday gifts, you’ll get:
✨ Easy-to-follow blueprints
🧰 Complete material & cut lists
🪚 Projects for all skill levels
👉👉 Start your woodworking journey with Ted’s 16,000 plans »
🛒 Prefer to Buy Instead of Build?
No problem! If you love the look of handcrafted wood but would rather skip the tools, we’ve got you covered.
🌿 👉 Browse top-rated Chicken coop shed and get inspired on Amazon »
FAQ
🔍What is the ideal size for a DIY chicken coop shed?
🔍What materials are needed to build a chicken coop shed?
🔍How do I ensure my chicken coop shed is predator-proof?
🔍What are the benefits of a combined chicken coop and shed?
🔍How often should I clean my chicken coop shed?
🔍Can I build a chicken coop shed on a slope?
🔍What are the local regulations and permits required for a chicken coop shed?
🔍How do I provide adequate ventilation for my chickens?
🔍What are some common mistakes to avoid when building a chicken coop shed?
Affiliate Disclosure
Some of the links in this article are affiliate links. If you click through and make a purchase, I may earn a small commission — at no additional cost to you.
This helps support my work so I can continue creating helpful woodworking tutorials and product reviews.I only recommend products and services that I have thoroughly researched and believe could provide real value to my readers.
Thank you for your support!

