
Making something with your own hands is very rewarding. Creating a wooden bench is a great way to start. It adds a personal touch to your home and makes you feel accomplished.
Imagine enjoying your morning coffee or a quiet evening on a handmade bench. It’s a simple joy that can make your space cozier.
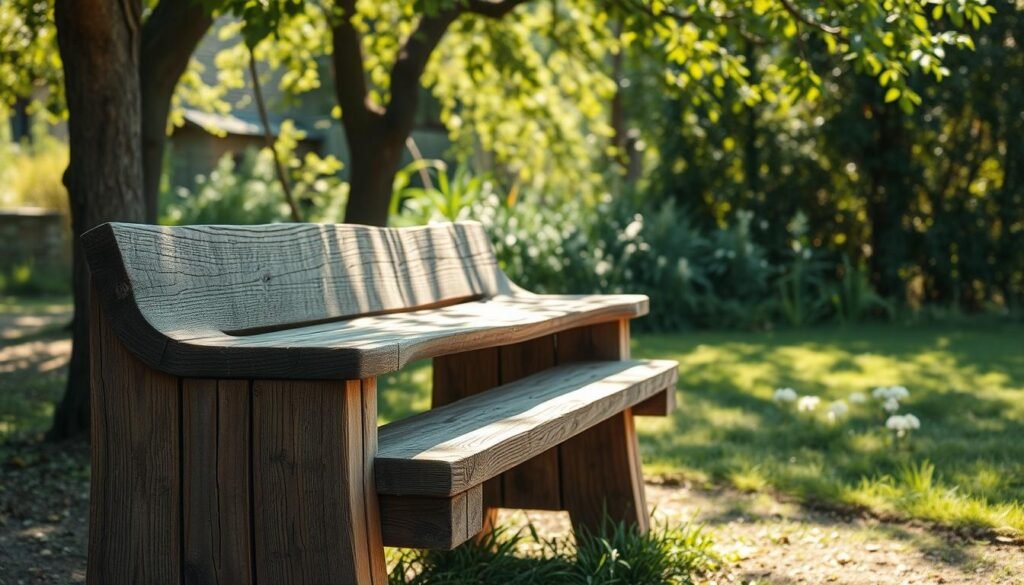
We’ll show you how to make a rustic bench step by step. This project is fun and rewarding, no matter your skill level.
👉👉 Click here to access 16000 TedsWoodworking plans now »
Key Takeaways
- Learn the basics of creating a rustic bench from scratch.
- Understand the importance of choosing the right wood for your project.
- Discover simple techniques to enhance your DIY skills.
- Get tips on how to personalize your handmade furniture.
- Find out how to bring a touch of coziness to your home with your new wooden bench.
The Timeless Appeal of Rustic Benches
Rustic benches have a unique charm. They add warmth and character to any room.
The Charm of Rustic Furniture in Modern Homes
Rustic decor is back in home design. A country style bench can be the heart of your living room or a cozy reading spot.
The natural look of wood and the simplicity of rustic design make your space welcoming.
Benefits of Creating Your Own Handcrafted Furniture
Making your own rustic bench is a fulfilling DIY project. You can make it your own and feel proud of your creation.
Handcrafted furniture makes your home special. It adds a personal touch that makes it truly unique.
Essential Tools and Materials for Your Project
To start your woodworking project and make a stunning solid wood bench, you need the right tools and materials. The right equipment makes the work easier, keeps you safe, and ensures your project looks great.
Must-Have Woodworking Tools
Some tools are a must for woodworking. You’ll need a tape measure, square, pencil, and a hammer. A saw is also key for cutting wood. You can choose between a hand saw or a power saw, depending on what you prefer and what you have.
Optional Power Tools to Streamline the Process
Power tools are not necessary but can make your work faster and more accurate. A table saw is great for making precise cuts. A drill press is useful for drilling holes, and a sander helps smooth out wood surfaces.
Safety Equipment for Woodworking Projects
Safety is always the most important thing. Always wear safety glasses, ear protection, and a dust mask. It’s also a good idea to have a first aid kit nearby.
👉👉 Click here to access 16000 TedsWoodworking plans now »
| Tool/Type | Description | Importance Level |
|---|---|---|
| Tape Measure | For measuring wood accurately | High |
| Safety Glasses | Protects eyes from debris | High |
| Drill Press | For precise drilling | Medium |
Selecting the Perfect Wood for a Rustic Bench
Choosing the right wood for your rustic bench is key. It affects both how it looks and how well it lasts. The wood you pick can change the bench’s look and strength.
Ideal Wood Types for Rustic Character
For a rustic bench, you need wood with a story to tell. Reclaimed wood is great because it has history and a weathered look. But, if you prefer something more even, pine or cedar can also add a rustic feel without the need for old wood.
- Pine: It’s cheap and easy to work with, perfect for beginners.
- Cedar: It’s tough and fights off rot and bugs, ideal for outdoor furniture.
- Reclaimed Wood: It brings a special history and weathered look that’s hard to get with new wood.

Reclaimed vs. New Wood: Pros and Cons
Choosing between reclaimed and new wood has its ups and downs. Reclaimed wood is unique, eco-friendly, but pricey and needs extra prep. New wood is cheaper, easy to find, but lacks the charm of old wood.
- Reclaimed Wood: Unique, eco-friendly, but pricey and needs more prep.
- New Wood: Cheaper, easy to find, but lacks the rustic charm of old wood.
Calculating Wood Quantities and Dimensions
To make sure you have enough wood, accurately calculate what you need. Measure your bench design well and add 10% for cuts or mistakes. For a standard bench, figure out the length, width, and thickness for the seat, legs, and supports.
By picking the right wood and planning well, you can make a sturdy and beautiful rustic bench. It will be the highlight of your outdoor or indoor space.
Designing Your Rustic Bench
Designing your rustic bench is a key step in making a beautiful and useful piece for your home or garden. A well-made bench can be a lovely farmhouse bench in your entryway or a cozy country style bench in your backyard.
Standard Bench Measurements and Proportions
When designing your bench, remember the standard sizes. A typical bench is about 18 inches tall and 15-18 inches deep. The length can change based on what you need, but a common size for a rustic bench is 4 to 6 feet.
Creating a Detailed Project Plan
A detailed plan is vital to see your bench and make sure it fits your outdoor seating area well. Think about the style, material, and size. Drawing your design and listing the materials you’ll need can make building easier.
Customizing Dimensions for Your Space
👉👉 Click here to access 16000 TedsWoodworking plans now »
While standard sizes are a good start, adjusting them to fit your space is important. Measure your area and think about the bench’s purpose to find the perfect size for your rustic bench.

You may also like
Setting Up Your Workspace for Success
A well-organized workspace is key to a successful woodworking project. You need to focus on two main areas. First, create a safe work environment. Second, organize your tools and materials well.
Creating a Safe and Efficient Work Area
Make sure your workspace is free from clutter and tripping hazards. This boosts safety and boosts your productivity. Proper lighting is also vital. It prevents accidents and reduces eye strain.
👉👉 Click here to access 16000 TedsWoodworking plans now »
Organizing Materials and Tools for Easy Access
Having your tools and materials within reach saves time and reduces frustration. Use toolboxes and pegboards to keep things organized. This lets you focus on your project, making it more enjoyable.

Preparing and Cutting Your Wood
Getting your wood ready is key to making a strong and attractive solid wood bench. This involves several important steps. These steps make sure your wood is ready for putting together.
Precise Measuring and Marking Techniques
First, you need to measure accurately. Use a combination square to make sure your marks are square and exact. Mark your wood with a fine pencil lead to avoid mistakes. Always double-check your measurements before cutting to prevent errors.
Making Clean, Accurate Cuts
Choosing the right saw is important for cutting wood. A table saw or circular saw works best for straight cuts. If you’re new to woodworking, practice on scrap wood first. Always cut away from you and keep your area clean.

👉👉 Click here to access 16000 TedsWoodworking plans now »
Initial Sanding and Edge Preparation
After cutting, sanding the edges is vital for a smooth finish. Start with coarse-grit sandpaper (about 80-100 grit) and move to finer grits (220 grit or higher) for a smooth surface. This step improves the look and prepares the wood for staining or finishing.
By following these steps for preparing and cutting wood, you’re on your way to making a beautiful and lasting rustic bench.
Crafting the Perfect Rustic Bench Seat
Let’s explore how to make a sturdy and beautiful rustic bench seat. The seat is the most seen part of your bench. So, it’s key to make it right.

Arranging and Joining Seat Boards
To make a solid and attractive seat, you’ll need to put and join several boards. First, pick boards that are the same thickness and width. Mixing narrow and wide boards can make a cool pattern.
When you join the boards, use strong glue and screws or nails. Make sure the boards line up well to avoid gaps or unevenness.
Securing Boards for a Solid Surface
To make sure the surface is solid, you need to hold the boards tight together. Use clamps to keep the boards in place while the glue dries. You might also need brackets or cleats for extra support.
As “A smooth surface is essential for a comfortable seating experience”, sand the seat well. This removes any rough spots or splinters.
Adding Rustic Character with Distressing Methods
To add a unique, weathered look to your bench seat, try distressing. You can sand, chisel, or hammer the wood. These methods create a beautiful, aged look.
“Distressing is not just about making something look old; it’s about creating a character that tells a story.”
Popular distressing methods include using a wire brush for texture or applying stain or wax to highlight the wood’s color.
By following these steps and techniques, you can make a sturdy and beautiful rustic bench seat. It will be the highlight of your outdoor area.
Building Sturdy Legs and Support Structure
A sturdy support structure is key for any wooden bench. It keeps the bench stable and secure. When making a rustic bench, the legs and support framework are very important. They need careful planning and execution.
Constructing Durable Bench Legs
To make durable bench legs, choose the right wood and design a strong framework. Dense hardwoods like oak or maple work well because they are stable and last long. The legs should match the bench’s size and spread the weight evenly.
Creating a Robust Support Framework
A strong support framework is vital for a stable bench. You need to build a frame that links the legs and supports the seat. Use mortise and tenon joints or screws to hold the frame together. Make sure the frame is square and the joints are tight to avoid wobbling.
👉👉 Click here to access 16000 TedsWoodworking plans now »

Reinforcement Techniques for Stability
To make your bench even more stable, think about adding cross braces or metal brackets. These can really boost the bench’s durability. Here’s a quick look at different reinforcement methods:
| Technique | Effectiveness | Ease of Implementation |
|---|---|---|
| Cross Braces | High | Moderate |
| Metal Brackets | High | Easy |
| Additional Legs | Moderate | Moderate |
Using these methods, your wooden bench will stay stable and secure for many years.
Assembling Your Rustic Bench Components
Now that we have all the parts ready, it’s time to put our rustic bench together. This is the most exciting part. We get to see our hard work come together.
Attaching Legs to the Bench Seat
Start by attaching the legs to the bench seat. Make sure the legs are evenly spaced and securely fastened. Use sturdy screws or dowels for this.
It’s important to double-check that the legs are level. This prevents the bench from wobbling.
Installing Cross Braces for Added Strength
Next, install cross braces between the legs. These add stability and strength to your bench. They help distribute the weight evenly and prevent the legs from splaying out.
Use strong wood glue and the right fasteners for this step.
Making Final Structural Adjustments
After the legs and cross braces are in place, check your bench for any structural issues. Make any necessary adjustments to ensure the bench is stable and secure. Tighten all screws and check that all joints are firmly in place.
With these steps complete, your rustic bench is taking shape. In the next section, we’ll focus on adding the finishing touches to enhance its rustic appeal.
👉👉 Click here to access 16000 TedsWoodworking plans now »
Finishing Techniques for Authentic Rustic Appeal
Choosing the right finishing techniques can turn your bench into a masterpiece. The finish not only makes it look great but also keeps the wood safe and lasting longer.
Progressive Sanding for the Ideal Texture
Progressive sanding is key for the perfect texture on your bench. Begin with coarse sandpaper (80-100 grit) to smooth out any bumpy spots. Then, switch to finer grits (120-150 and 220) for a silky finish. This method makes your bench both comfy and eye-catching.

Selecting and Applying Stains for Aged Character
Picking the right stain can really bring out your bench’s character. Look for stains that give it an old or worn look. Follow the stain’s instructions, usually applying thin layers and letting them dry before adding more. This way, you get a deep, rich color that adds to the rustic charm.
Protective Finishes for Durability and Beauty
To keep your bench looking good and lasting long, use a protective finish. You can choose from polyurethane, varnish, or wax. Polyurethane makes it hard and durable, varnish protects from UV rays, and wax gives it a soft glow. Pick what works best for you and follow the product’s guide.
| Finishing Technique | Purpose | Benefits |
|---|---|---|
| Progressive Sanding | Achieve smooth texture | Comfortable surface, visually appealing |
| Staining | Add color and character | Enhances rustic appeal, can distress for aged look |
| Protective Finishes | Protect the wood | Durable, UV protection, natural sheen |
By picking and using these finishing methods carefully, you can make a rustic bench that’s not just pretty but also strong and useful. Whether you want a worn, vintage vibe or a more polished rustic look, the right finish makes all the difference.
Customizing Your Rustic Bench with Unique Details
Now that you’ve built your rustic bench, it’s time to make it truly yours. You can add unique customizations that show off your style. This is where your creativity can really shine.
👉👉 Click here to access 16000 TedsWoodworking plans now »
Incorporating Decorative Wood Elements
Think about adding decorative wood elements like carvings or patterns. These can give your bench a touch of elegance. You can also mix different types of wood for contrasting effects that add visual interest.
Adding Metal Accents and Hardware
Metal accents can give your bench an industrial or modern look. Consider using metal brackets, hinges, or decorative nails. These elements not only enhance the look but also make the bench more durable.
Personal Touches for One-of-a-Kind Furniture
The personal touch you add makes your bench special. It could be as simple as engraving a meaningful date or message. You can also use materials like fabric or glass to make it truly unique.

👉👉 Click here to access 16000 TedsWoodworking plans now »
Conclusion
Now that you’ve finished your rustic bench, you’ve made something beautiful. You’ve also enjoyed the fun of a DIY project. This bench shows off your skills and creativity.
Looking at your bench, remember the journey is key. You’ve improved your woodworking and will get better with each project. Keep exploring DIY and woodworking to learn more and make unique pieces.
Your bench is a special part of your home, showing the value of handmade things. It’s something you’ll love for years and be proud to share with others. So, what’s your next DIY project? Maybe a table or something from reclaimed wood? We hope you keep enjoying making things with your hands.
🪚 Want to Build the Perfect Rustic Bench—Without Guesswork?
Save time and avoid mistakes with step-by-step plans designed by pros!
📘 We highly recommend TedsWoodworking — a complete library of 16,000+ woodworking plans, including rustic benches, farmhouse furniture, outdoor projects, and more.
Here’s what you’ll get:
- 📏 Precise measurements & diagrams
- 🧰 Tool & material lists
- 🔨 Easy-to-follow instructions for all skill levels
- ✅ Instant access to downloadable, printable PDFs
👉👉 Click here to access 16000 TedsWoodworking plans now »
😌 Prefer to Skip the Sawdust and Buy a Ready-Made Bench?
If you’d rather not DIY, that’s okay too!
We’ve handpicked some of the most popular rustic-style benches on Amazon—beautiful, sturdy, and ready to use.
👉👉 Browse our favorite rustic benches on Amazon »
FAQ
What type of wood is best for a rustic bench?
Do I need specialized woodworking tools to make a rustic bench?
Can I customize the dimensions of my rustic bench?
How do I achieve a distressed, rustic look on my bench?
Is it necessary to use safety equipment when working on a woodworking project?
Can I use reclaimed wood for my rustic bench?
How do I protect my rustic bench from the elements?
Affiliate Disclosure
Some of the links in this article are affiliate links. If you click through and make a purchase, I may earn a small commission — at no additional cost to you.
This helps support my work so I can continue creating helpful woodworking tutorials and product reviews.I only recommend products and services that I have thoroughly researched and believe could provide real value to my readers.
Thank you for your support!