
Looking to make your bedroom more personal? We’ve got 5 easy DIY nightstand ideas for you to build at home. These projects are perfect for both beginners and seasoned DIYers. They’re fun and rewarding to make.
We’ll walk you through each step. You’ll get the knowledge and confidence to make a beautiful piece of furniture. With these custom nightstand ideas, you can add a personal touch to your bedroom.
📌📌Get Access to 16,000+ TEDS Woodworking Plans
👉👉Browse our favorite Wooden Photo Frames on Amazon »
Key Takeaways
- 5 unique DIY nightstand projects for your bedroom
- Easy-to-follow instructions for beginners and experienced DIYers
- Customizable designs to fit your personal style
- Opportunity to develop your woodworking skills
- Beautiful and functional furniture for your home
Why Building Your Own Nightstand Makes Sense
Building your own nightstand is more than just making furniture. It’s about feeling accomplished and adding something special to your bedroom.
Cost Benefits of DIY Furniture Projects
DIY nightstands can save you money. You can pick affordable materials and use things you already have. This way, you make a great piece of furniture without spending a lot.
Using reclaimed wood or old items can make your nightstand unique and cheaper. It adds character to your bedroom.
Customization Opportunities for Your Bedroom
A handmade wooden nightstand lets you design it just how you want. You can add storage or choose a style that fits your bedroom perfectly. DIY projects offer the freedom to create exactly what you need.
Satisfaction of Creating Something with Your Hands
Working on woodworking project ideas like a nightstand is very rewarding. Making something from scratch is calming and fulfilling. It gives you pride in your handmade wooden nightstand.
Essential Tools and Materials for DIY Nightstands
Before starting your DIY nightstand, gather the right tools and materials. Having everything ready will save you time and make the project enjoyable.
Basic Tools Every DIY Furniture Maker Needs
You’ll need basic tools for any DIY furniture project. These include a tape measure, square, safety glasses, clamps, and a drill. High-quality tools will make your project easier and more fun.
Recommended Wood Types for Bedroom Furniture
Choosing the right wood for your nightstand is important. For a rustic wood nightstand, use reclaimed or distressed wood. For a modern bedside table, oak or maple are good choices. Pick a wood that matches your style and budget.

📌📌Get Access to 16,000+ TEDS Woodworking Plans
👉👉Browse our favorite Wooden Photo Frames on Amazon »
Additional Supplies and Hardware
You’ll also need extra supplies and hardware for your woodworking nightstand. This includes screws, nails, drawer glides, and knobs or handles. Choose hardware that fits your design and is durable for daily use.
Safety Precautions and Workshop Setup
When you’re working on DIY projects like custom nightstands, safety comes first. A safe workspace protects you from harm and makes your woodworking better.
Proper Safety Gear for Woodworking
Getting the right safety gear is a must for woodworking. You’ll need protective eyewear, hearing protection, and dust masks. These simple steps can stop serious injuries and keep your workspace safe for your DIY nightstand plans.
Creating an Efficient Workspace
A well-organized workspace is vital for woodworking success. Make sure your workshop is bright, tidy, and clutter-free. This boosts your work speed and cuts down on accident risks when tackling woodworking project ideas.
Safe Handling of Tools and Materials
Knowing how to handle tools and materials safely is key. Always follow the tool’s instructions and keep your area clean and dry. Here are some important tips to remember:
- Keep your tools sharp and well-maintained.
- Use proper lifting techniques to avoid strain.
- Store materials and tools in designated areas.
By following these tips, you can have a safe and fun time working on your custom nightstand ideas.
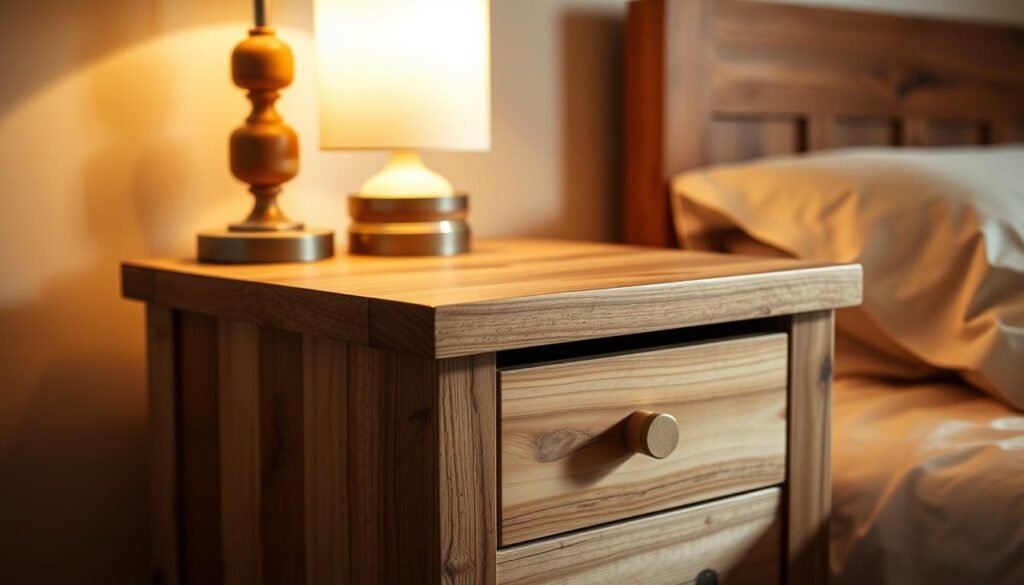
Project1: Rustic Wood Nightstand with Single Drawer
Let’s build a beautiful rustic wood nightstand with a single drawer. It’s perfect for adding warmth to your bedroom. This project is great for DIY fans who want to make functional and stylish furniture.
Materials and Cut List
To start, you’ll need these materials:
- 2 x 4 lumber for the frame
- 3/4 inch plywood for the drawer and shelves
- Rustic wood planks for the exterior
- Drawer slides and hardware
Here’s a detailed cut list for the project:
| Part | Quantity | Dimensions |
|---|---|---|
| Frame Sides | 2 | 18″ x 30″ |
| Frame Top and Bottom | 2 | 24″ x 18″ |
| Drawer Front | 1 | 18″ x 6″ |
Frame Construction Steps
Begin by building the frame with 2 x 4 lumber. Put together the sides, top, and bottom with screws. Make sure the corners are square and the frame is strong.

📌📌Get Access to 16,000+ TEDS Woodworking Plans
👉👉Browse our favorite Wooden Photo Frames on Amazon »
Then, attach the rustic wood planks to the frame, leaving space for the drawer. Use nails or screws to hold the planks in place.
You may also like
Drawer Building and Installation
Make the drawer from 3/4 inch plywood. Attach the drawer slides to the frame and the drawer for smooth movement.
“A well-crafted drawer can add significant functionality to your nightstand.” – Woodworking Expert
Finishing Techniques for a Rustic Look
To get a rustic look, sand the wood to distress it slightly. Then, apply a stain or paint that highlights the wood grain. Finish with a clear coat to protect the finish.
By following these steps, you’ll make a stunning rustic wood nightstand. It will add warmth and character to your bedroom. This handmade wooden nightstand is a perfect example of woodworking furniture designs that blend function with style.
📌📌Get Access to 16,000+ TEDS Woodworking Plans
👉👉Browse our favorite Wooden Photo Frames on Amazon »
Project2: Modern Floating Bedside Table
Let’s explore our second DIY project, a modern floating bedside table. It combines sleek design with functionality. This project is great for adding contemporary style to your bedroom.

Materials and Cut List
To begin, gather the following materials:
- 3/4 inch thick MDF or plywood for the table surface
- 1×2 lumber for the hidden mounting frame
- Wood screws and wall anchors
- Wood filler and sandpaper
- Paint or stain for finishing
Cut the MDF or plywood to your desired table size. Cut the 1×2 lumber into lengths for the hidden mounting frame, based on the table’s dimensions.
Building the Table Surface and Structure
Start by building the hidden mounting frame with wood screws. It should be sturdy to hold the table surface and any items. Attach the table surface to the frame, making sure it’s level and secure.
Key steps include:
- Assembling the mounting frame
- Attaching the table surface
- Ensuring the structure is level and secure
Installing Hidden Mounting Hardware
The hidden mounting hardware creates the “floating” effect. Use wall anchors to secure the mounting frame to the wall studs. This step is key for stability and safety.
Tip: Always find the wall studs before drilling to avoid accidents.
Finishing for a Contemporary Appearance
Finish your bedside table with paint or stain that matches your bedroom. Sand the surface to a smooth finish and apply a protective coat for durability.
Some finishing options include:
- Matte or glossy paint
- Wood stain with a clear coat
- Lacquer for a high-gloss finish
📌📌Get Access to 16,000+ TEDS Woodworking Plans
👉👉Browse our favorite Wooden Photo Frames on Amazon »
Project3: Repurposed Crate Nightstand
Turning old wooden crates into a nightstand is a smart way to reuse and add a personal touch to your bedroom. This project breathes new life into discarded crates. It also creates a unique piece of furniture with a story to tell.

Finding and Preparing Wooden Crates
The first step is to find the right wooden crates. Look in local stores, flea markets, or online for sturdy, character-filled crates. Clean and check them for damage. Sanding the surfaces will smooth out any rough edges, readying them for assembly.
Assembly and Reinforcement Techniques
Building the nightstand means stacking and securing the crates. Use screws or nails for strength. Adding a wooden base or brackets can make it even more stable. This ensures your nightstand is both strong and useful.
Adding Functional Elements
To make your nightstand more useful, add shelves or wheels. Shelves offer extra storage, and wheels make it easy to move. These features boost both function and style.
Creative Finishing Ideas
The finishing touches are key. You can stain or paint the crates to fit your bedroom’s look. Decorative hardware or a natural wood finish can also enhance the look. Let your creativity guide you in the finishing touches.
By following these steps, you can make a handmade wooden nightstand that’s eco-friendly and reflects your style. This woodworking project is a fun way to express yourself while creating something beautiful for your home.
Project4: Minimalist Bedside Table with Open Shelving
Let’s build a minimalist bedside table that’s simple yet functional. It’s great for those who love clean designs and less decor. The open shelving adds elegance and practical storage for your bedroom needs.

📌📌Get Access to 16,000+ TEDS Woodworking Plans
👉👉Browse our favorite Wooden Photo Frames on Amazon »
Materials and Cut List
You’ll need 1/2-inch plywood or MDF for the shelves, and 3/4-inch wood for the frame. Also, wood screws, glue, and a finish of your choice. For a standard table, you’ll need:
- 2 pieces of 3/4-inch wood @ 24″ x 18″ (frame sides)
- 1 piece of 3/4-inch wood @ 24″ x 20″ (frame top)
- 2 shelves made from 1/2-inch plywood or MDF @ 18″ x 20″
Cut the wood to these sizes for a strong frame.
Building the Frame and Shelves
Start by building the frame with screws and glue. Make sure the corners are square and the frame is level. Then, attach the shelves to the frame, spacing them evenly. Use shelf pins or brackets for extra support.
Tip: Use a level to make sure the shelves are perfectly horizontal. Adding a small lip to the shelves helps keep items from falling off.
Assembly Techniques for Stability
To make your bedside table stable, use the right assembly techniques. Secure the shelves well to the frame. Adding brackets or corner supports helps too.
“The beauty of minimalist design lies in its simplicity and functionality. By focusing on clean lines and minimal ornamentation, you can create a piece that is both elegant and practical.” –
Finishing Options for a Clean Look
For a modern look, use a natural wood stain or simple paint. Sand the wood well before finishing for a smooth surface. A clear coat can protect the wood and make the color pop.
Remember, the key to a minimalist design is restraint. Avoid over-accessorizing and keep the focus on the clean lines and simple beauty of the wood.
Classic Woodworking Nightstand with Two Drawers
Looking to add traditional charm to your bedroom? Building a classic wooden nightstand with two drawers is a great choice. It’s a fantastic way to improve your woodworking skills and make something both useful and beautiful.

📌📌Get Access to 16,000+ TEDS Woodworking Plans
👉👉Browse our favorite Wooden Photo Frames on Amazon »
Materials and Detailed Cut List
You’ll need a few materials to get started: 1/2-inch plywood for the drawer bottoms, and 3/4-inch plywood or solid wood for the sides and frame. You’ll also need wood glue, 2-inch and 1-inch wood screws, drawer slides, and finishing nails. For a nightstand that’s 24 inches wide, 18 inches deep, and 30 inches tall, here’s what you’ll cut:
Two sides (18 x 30 inches), one top (24 x 18 inches), one shelf (24 x 18 inches), and pieces for the drawers.
Building the Nightstand Frame
Start by putting together the nightstand frame with wood glue and 2-inch wood screws. Make sure the corners are square and the frame is strong. Attach the back panel with finishing nails for a solid base.
Drawer Construction and Installation
For the drawers, cut the sides, front, and back to size. Use 1-inch wood screws to assemble them and attach the bottom panel. Install drawer slides on the nightstand and attach the matching slides to the drawers. This makes the drawers move smoothly. Make sure they’re aligned and working right.
Finishing Your Handmade Wooden Nightstand
After assembling, sand all surfaces to remove any rough edges. Apply your chosen finish, like stain or paint, and let it dry as instructed. Attach the drawer fronts and any hardware, like knobs or handles, to finish your project.
Building a classic wooden nightstand with two drawers is a rewarding DIY project. It not only makes your bedroom more functional but also adds a personal touch. With these steps, you’ll create a beautiful and useful piece of furniture to enjoy for years.
Conclusion
We’ve looked at five unique woodworking projects, from rustic nightstands to modern floating tables. Each project lets you make something beautiful and useful for your bedroom. Building your own nightstand is rewarding and saves money on furniture.
If you love DIY or are just starting, we hope these ideas inspire you. With the right tools and materials, you can make your dream furniture come true. Enjoy the joy of making your home decor.
So, why not plan your next woodworking project now? With these ideas and some creativity, you can make a piece that shows off your style. Happy building, and enjoy the pride of making something special!
🕰️ Want to Build a Beautiful Nightstand ?
If you love woodworking and want to create something truly timeless, start with the right plan!
With TedsWoodworking, you get access to 16,000+ detailed woodworking plans —
Here’s what’s inside:
- 🪚 Full cut lists and diagrams
- ✅ Instant download, print-ready format
👉 Click here to unlock all TedsWoodworking plans »
😅 Not into DIY?
If you’d prefer to skip the tools and still own a nightstand, we’ve got you covered.
Check out our favorite ready-made nightstand on Amazon — full of character and quality craftsmanship.
👉 Shop beautiful cuckoo clocks on Amazon »